Wind Loads
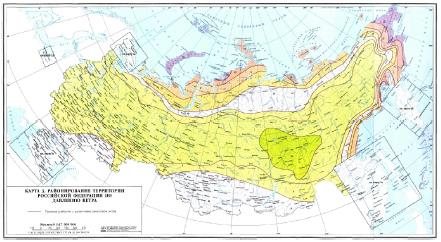
For Wind loads, users have the option to use UBC or ASCE-7 (1998, 2002 or 2010) codes. With one of these codes, the user can enter some inputs and the wind profile is calculated for you. If none of these codes apply, the user also has the option to choose “Profile.” With this option, you can input your user wind profile. The pressure will usually change with height.
Go to Load-->Wind
Image may be NSFW.
Clik here to view.
Fill out the inputs in the top box. Remember, if you are confused about what any input means, you can press F1 while in that input box and the specific help menu will pop up. Then click on the specific wind profile you want to update (W1) and click on Modify.
Image may be NSFW.
Clik here to view.
In here, the user wind profile can be created.
Image may be NSFW.
Clik here to view.
If one of the codes is chosen as the wind profile “type,” a different dialog box would pop up with specific inputs. From these inputs, a wind profile would be created.
Snow Loads
Snow loads are simply a load that gets applied on a segment basis. You can apply it as weight per length, weight per area or density. It does not matter what code is being used when you apply a snow load.
Go to Load-->Snow
Image may be NSFW.
Clik here to view.
Choose your method and input your load. Then leave the checkbox checked on if you want the snow load applied to all segments. If you only want the snow load applied to a part of your model, uncheck the checkbox. Then in the Input Grid, under the Segment tab, you can choose which segments you want the Snow Load applied to. The same can be done for the wind load.
Image may be NSFW.
Clik here to view.
Image may be NSFW.
Clik here to view.
Static Earthquake Loads
For Static Earthquake loads, you can choose from ALA (ASCE 2002), ASCE-7-10, Chinese GB50011 – 2001 and Mexican CFE 2008 codes. You can also create a User profile where you can insert your x, y and z earthquake loads (this is what we did in class). Again, if you choose from one of the codes, you have to enter some inputs (Press F1 for help) and then the values will be calculated for you.
Go to Load-->Static Earthquake
Image may be NSFW.
Clik here to view.
Create as many New cases as you need. If you are using the User profile, simply enter in your earthquake g-load values.
Image may be NSFW.
Clik here to view.
If you are going to choose a code, choose the code and then click Modify.
Image may be NSFW.
Clik here to view.
In the next dialog box, enter all the inputs and click OK. This dialog will have different required inputs for each code.
Image may be NSFW.
Clik here to view.
Your X, Y and Z values will then be calculated for you.
Image may be NSFW.
Clik here to view.
Load Review
For all of these loads, you can review them by going to Tools-->Model Input Listing
Image may be NSFW.
Clik here to view.
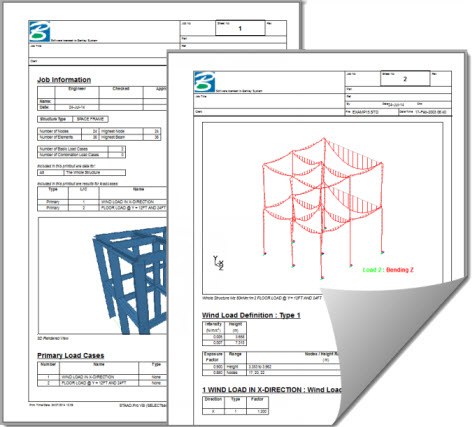
Choose “Loads Summary” and a report will pop up to review you loads.
Image may be NSFW.
Clik here to view.
Analysis
Also!! Remember that you have to include these in your analysis manually. Go to Load-->Static Analysis Sets
Image may be NSFW.
Clik here to view.
Highilight your analysis set and click on modify.
Image may be NSFW.
Clik here to view.
Make sure to click the checkbox on for all of the loads you want to include in your analysis set, including Earthquake, Wind and Snow.
Image may be NSFW.
Clik here to view.
Thanks, hope this was helpful!
Image may be NSFW.Clik here to view.


